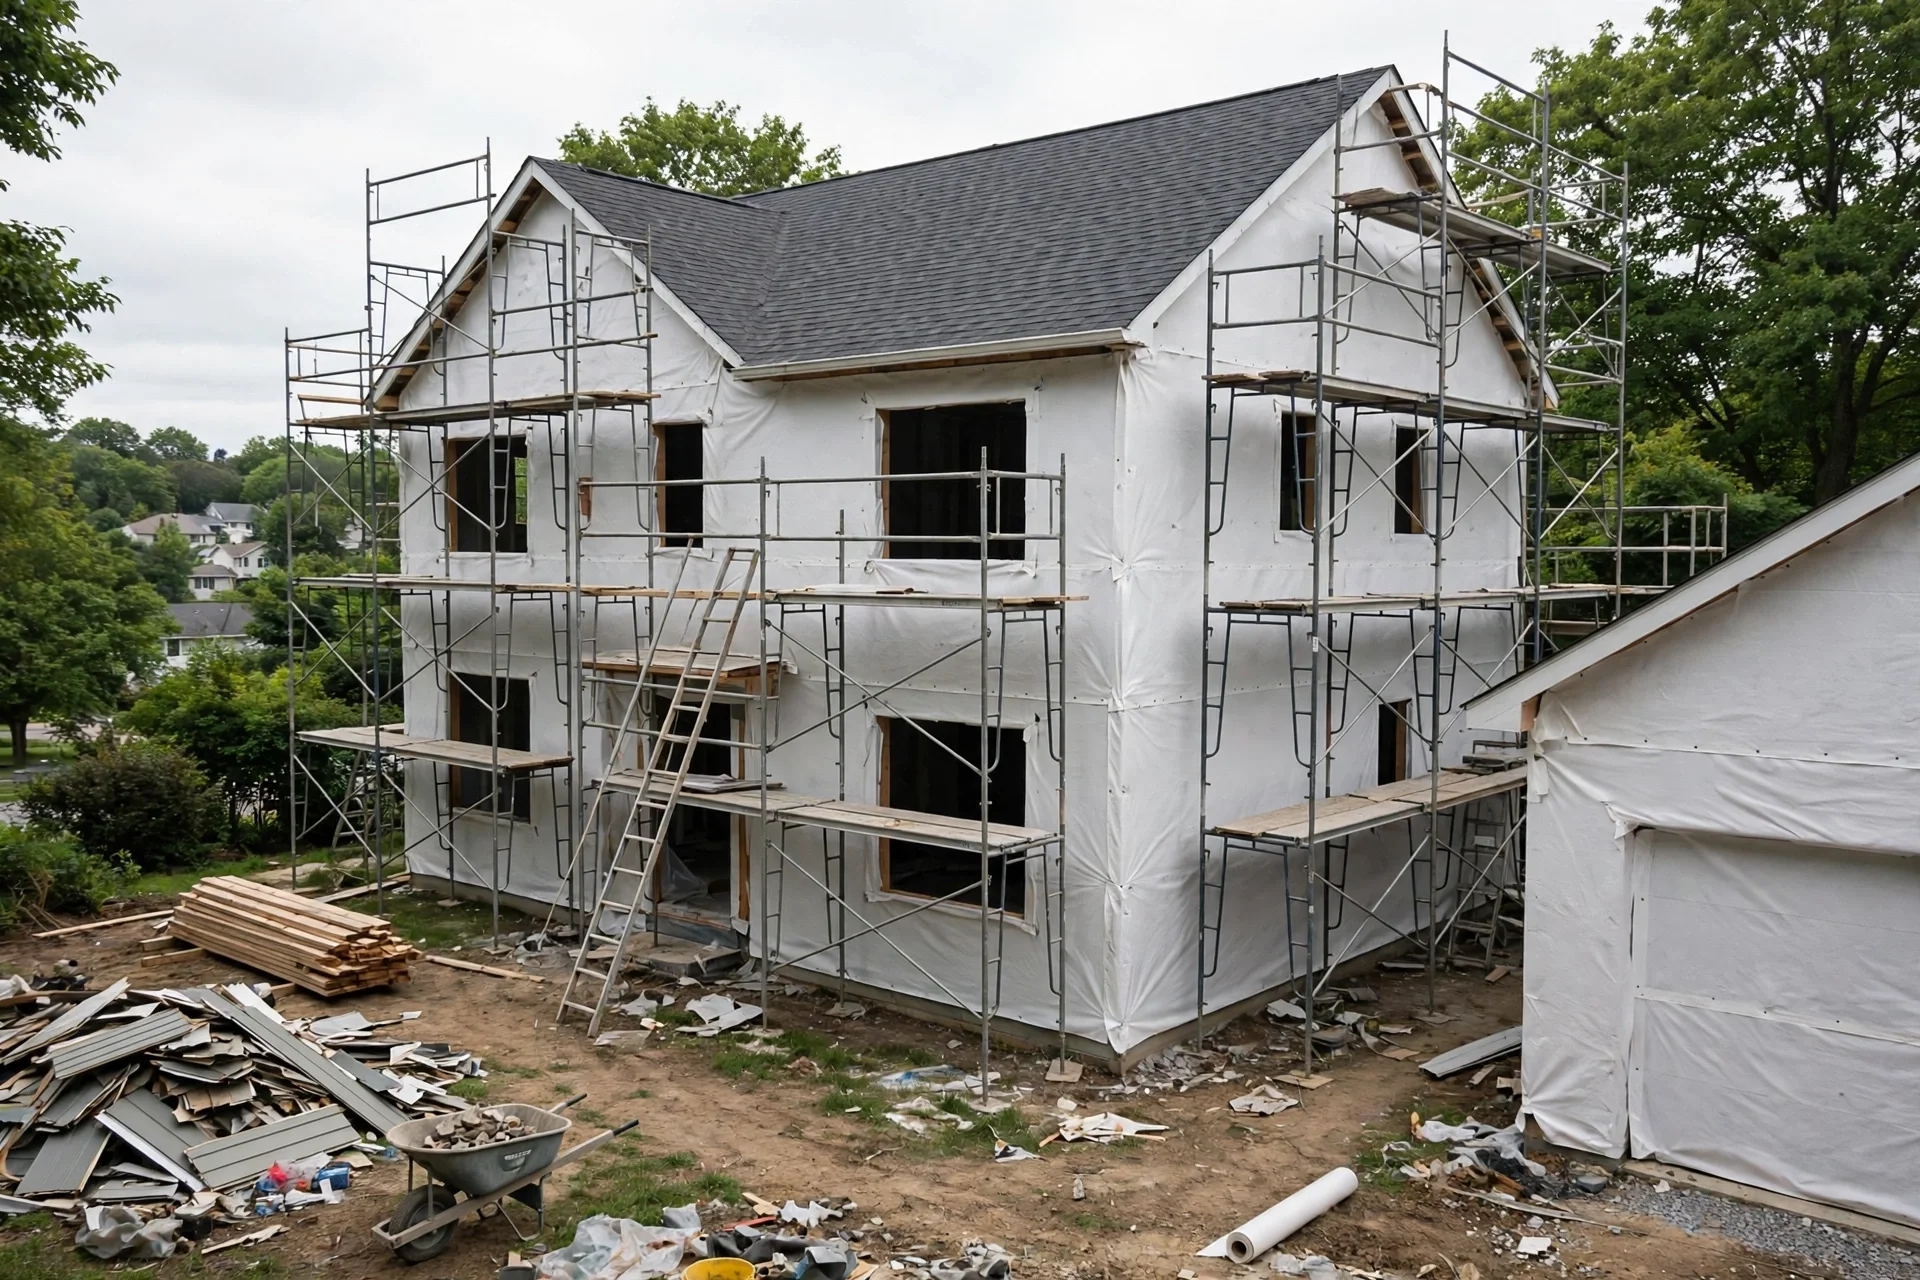
An exterior renovation is the one moment when the shell of a house is open and accessible. The siding is off, the sheathing is exposed, the windows are out, and every joint, gap, and weak point in the building envelope is suddenly within reach. That access is worth more than any single product, because the envelope — the walls, roof, foundation, windows, and doors that separate inside from outside — decides how much energy a home wastes, how comfortable it feels, and how long its structure lasts.
The most effective approach is to treat the renovation as a whole-envelope project: assess the house first, seal air leaks before adding insulation, add continuous insulation outside the framing, fix the windows and their junctions, and then rebalance ventilation so the tighter house stays healthy. Done in that order, these steps can cut heating and cooling loads dramatically, and they make every other upgrade — from new windows to a smaller heating system — work better.
The Renovation Window: Why Exterior Work Is the Best Time to Fix the Envelope
Most envelope improvements are expensive precisely because the envelope is buried. Adding insulation to a finished wall means opening it up; sealing a hidden air leak means finding it first; fixing a flashing detail means removing the siding around it. During an exterior renovation, all of that access is already paid for. The crew is already on site, the scaffolding is already up, and the siding is already coming off. The extra cost of sealing and insulating while the walls are open is a fraction of what the same work would cost on its own.
There is a second reason the timing matters. A renovation that only replaces the visible surfaces — new siding over old problems — can make things worse, hiding the problems for a few more years while moisture keeps working behind it. A renovation that addresses the envelope underneath the new surfaces resets the clock on the whole wall assembly and gives the new finish something sound to sit on.
What the Four Control Layers Do — and Where They Fail
Building scientists describe the envelope as four control layers, and understanding them is the key to spending renovation money wisely. The water layer keeps rain out, and it fails at flashing details, window openings, and roof-to-wall junctions. The air layer stops uncontrolled airflow, and it fails at every joint, penetration, and seam that was never sealed. The thermal layer slows heat flow, and it fails where insulation is missing, compressed, or bypassed by framing. The vapor layer manages moisture movement through the assembly, and it fails when the wrong material is placed on the wrong side of the wall for the climate.
The crucial point is that these layers interact. Air leakage carries far more moisture into a wall than vapour diffusion does, so a house with a leaky air layer will have moisture problems no matter how good its vapor barrier is. Insulation that is full of air gaps performs far below its rated value, because air moving through it carries heat with it. And a water layer that works perfectly is useless if the air layer lets humid indoor air condense inside the wall in winter. A renovation that fixes one layer while ignoring the others usually disappoints, which is why the best projects address all four in a planned sequence.
- Layer 1: Water layer — flashing, drainage planes, and roof details that keep rain out of the assembly.
- Layer 2: Air layer — a continuous sealed barrier that stops uncontrolled airflow through joints and penetrations.
- Layer 3: Thermal layer — insulation placed continuously, without gaps or thermal bridges through the framing.
- Layer 4: Vapor layer — materials chosen for the climate so moisture can dry in at least one direction.
Finding the Leaks: Assessment Before You Spend a Dollar
Before choosing materials, find out where the house is actually losing energy. A blower-door test is the most useful single diagnostic: a powerful fan depressurizes the house and measures how much air leaks in, expressed as air changes per hour at 50 pascals. Older homes often test far above modern standards, and the test itself, combined with a smoke pencil or an infrared camera, shows exactly where the air is coming from.
A simple walk-around adds a great deal too. Look for gaps around windows and doors, cracks where the siding meets the foundation, stains that mark water entry, and rooms that are always colder or hotter than the rest of the house. Check the attic for daylight coming through and insulation that has been pushed aside, and write down what you find — the list becomes the renovation plan, and it is usually shorter and cheaper than the guesswork it replaces.
| Diagnostic | What it reveals | When to use it |
|---|---|---|
| Blower-door test | Total air leakage and leak locations | Before and after renovation |
| Infrared camera | Missing insulation, thermal bridges | Cold day, house heated |
| Smoke pencil | Exact air leak paths | During blower-door test |
| Visual inspection | Water stains, gaps, damage | Any time, start here |
Air Sealing First: The Cheapest Performance Gain in the Whole Project
Air sealing is almost always the best money in an envelope renovation, because uncontrolled air leakage is usually the largest single source of energy loss and the main way moisture gets into walls. The work itself is unglamorous: caulk at stationary joints, weatherstripping at doors and windows, expanding foam at large gaps, and tape or sealant at sheathing seams and framing transitions. But the effect is immediate — fewer drafts, steadier temperatures, and less moisture carried into the structure.
The places to seal are the ones people rarely think about. The top and bottom plates of framed walls, the joint between the wall and the foundation, the rim joist at the top of the basement wall, the penetrations where pipes and wires pass through, and the rough openings around windows and doors are all major leak paths. During a renovation with the siding off, the sheathing seams themselves can be taped and the framing transitions sealed from the outside — work that is nearly impossible once the siding is back on. Sealing these paths first also makes the insulation that follows perform at its rated value, because insulation only works when air is not moving through it.
- Priority: Seal the top and bottom plates and the wall-to-foundation joint before the siding goes back on.
- Priority: Foam and caulk every pipe, wire, and duct penetration through the wall and ceiling.
- Priority: Tape sheathing seams and use compatible flashing tape at window and door openings.
Adding Continuous Insulation Without Changing the Look of the House
Insulation stuffed between studs leaves the wood framing itself as a thermal bridge — heat flows straight through the studs, bypassing the insulation entirely. Continuous insulation solves this by wrapping the outside of the framing in an unbroken layer, usually rigid foam board or mineral wool, that covers the studs as well as the cavities. Even a modest layer makes a large difference: it raises the overall wall performance, warms the inner face of the sheathing so condensation is less likely, and smooths out the cold spots that cause discomfort.
The fear that continuous insulation will change the look of a house is usually unfounded. One to two inches of rigid insulation under new siding barely changes the wall thickness, and window and door trim can be extended to suit. The choice of material depends on climate and budget: rigid foam boards offer high insulating value per inch, mineral wool is fire-resistant and vapour-open, and some products combine insulation with a built-in air and water barrier. What matters most is continuity — insulation that is broken at every window, corner, and junction is not continuous insulation, so the detailing at those points deserves as much attention as the field of the wall.
| Material | Insulating value per inch | Key strength |
|---|---|---|
| Rigid foam board | High | Thin, strong air barrier option |
| Mineral wool board | Moderate | Fire-resistant, vapour-open |
| Wood fibre board | Moderate | Sustainable, good sound control |
Windows, Doors, and the Tricky Junctions Between Them
Windows and doors are holes in the envelope, and the junction between the opening and the wall is where the control layers are hardest to keep continuous. The correct sequence matters: the rough opening should be air-sealed, the window should be set with its flange integrated into the water-resistive barrier, the sides and head should be flashed so water drains outward, and the gap around the frame should be filled with low-expansion foam, not packed with fibreglass that air passes straight through. A window installed without this sequence can leak air and water for its entire life no matter how good the window itself is.
- Sequence: Air-seal the rough opening, including the sill, before the window goes in.
- Sequence: Set the window with flashing tape lapped shingle-style so water drains outward.
- Sequence: Fill the perimeter gap with low-expansion foam and seal the interior joint.
- Sequence: Extend the trim to cover the added insulation thickness without trapping water.
Replacing windows during a renovation is also the moment to think about their size and placement. A large west-facing window that overheats the house in summer is an envelope problem as much as an aesthetic one, and shading, better glazing, or a smaller opening may serve the house better than a like-for-like replacement. The cheapest window is rarely the best envelope decision; the glass, the frame, and the installation together decide how the opening behaves for the next twenty years.
Roof and Foundation Connections Most Renovations Miss
The wall is only part of the envelope, and two junctions cause a disproportionate share of problems. The first is the roof-to-wall connection, where the wall insulation meets the roof insulation and the air barrier has to turn a corner. In many older homes this junction is effectively open: air pours from the wall cavity into the attic, carrying heat and moisture with it. During an exterior renovation, the eaves and the top of the wall are accessible, and sealing this junction — with foam, tape, and careful insulation continuity — is one of the highest-value details in the whole project.
The second is the foundation-to-wall connection at the bottom of the wall. The rim joist, the sill plate, and the top of the foundation wall form another corner where air and water find their way in. Sealing the rim joist and insulating it properly, and making sure the water-resistive barrier laps correctly over the foundation, stops a leak path that affects the whole house — small work with an outsized effect.
Building Envelope Performance During Exterior Renovation: Your Questions Answered
Should I air-seal before adding insulation?
Yes, always. Insulation only performs at its rated value when air is not moving through it, and air leakage carries moisture into walls far faster than vapour diffusion. Seal the joints, penetrations, and transitions first, then add insulation over a sealed assembly.
How much difference does continuous insulation actually make?
A large one. Insulation between studs leaves the framing as a thermal bridge, and the studs can account for a significant share of heat loss through a wall. Wrapping the outside of the framing in a continuous layer covers those bridges and can raise the wall’s overall performance substantially, even with a thin layer.
Will a tighter house cause moisture problems?
Only if ventilation is ignored. A sealed house needs controlled ventilation — exhaust fans and ideally a heat-recovery ventilator — to manage indoor humidity. With proper ventilation, a tight house is drier and healthier than a leaky one, because moisture entry is controlled rather than random.
Do I need a blower-door test if I am already renovating?
It is the best money you can spend on the project. A test before the renovation shows where the leaks are so you can target them, and a test afterwards proves the work actually worked. Without it, you are guessing about the result of the most expensive part of the job.
Can I add continuous insulation without replacing my windows?
Yes, but the window junctions need care. The trim must be extended to cover the added thickness, and the flashing details have to be redone so water still drains outward. It is easier to do windows and insulation together, but it is entirely possible to do the insulation alone if the junctions are detailed properly.
Final Thoughts: A Renovation That Pays for Itself Through the Envelope
An exterior renovation that only changes what a house looks like misses the best return the project offers. Sealing the air leaks, adding continuous insulation, fixing the window junctions, and closing the roof and foundation connections turns a cosmetic upgrade into a durable performance improvement — lower energy bills, steadier comfort, and a structure that stays dry for decades. The siding will be replaced again one day; the envelope underneath it is the part worth getting right.